Guide
Drifting clouds from nodes
You'll end up with a full-screen background of soft clouds drifting through four colours, built from seven nodes, with a Speed that whoever uses your wallpaper can change on their desktop. I also show the GLSL the same thing comes to, if you'd rather write it.
What you'll learn
- How seven nodes make drifting clouds: a place, time added to it, Fractal Noise over it, and a Colour Ramp to colour it.
- How a Number with Setting ticked becomes one of the layer's settings, which you can animate on the timeline, set from a script or offer on the desktop.
- What the same pattern looks like as GLSL, in Shadertoy's form.
What you need
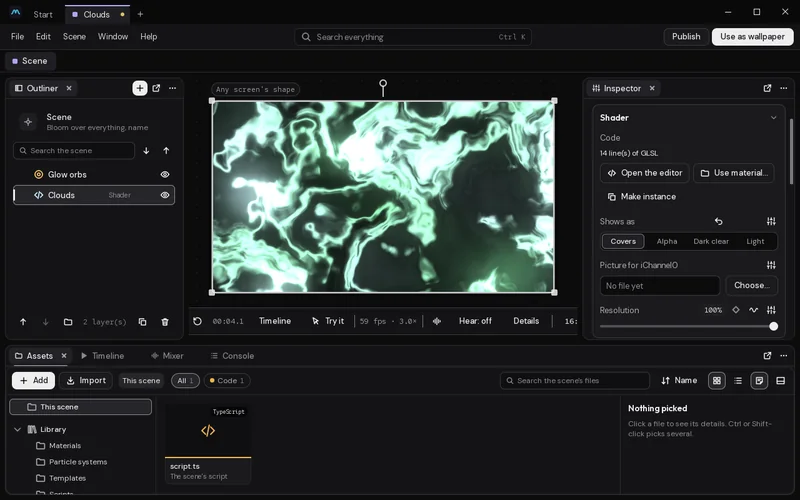
- A Shader layer named Clouds, at the bottom of the scene, with Shows as set to Covers.
- Nothing else. Put whatever you like on top: Glow orbs, a Text and clock, motes.
A Shader layer draws whatever its graph (or its code) says, for every pixel. Shows as says how it sits over what's below it: Covers draws over everything, Dark clear lets dark parts show what's under them.
How it's built
- On Studio's start page, click Empty scene. Click + in the Outliner's tab and add a Shader (under Your own). If its editor opens, click the Scene tab, at the start of the row under the toolbar, to go back. Double-click the layer's name and call it Clouds. Drag it to the bottom of the list, and set Shows as to Covers.
- With Clouds picked, click Open the editor in its settings. The editor opens as a tab named Clouds, in the row under the toolbar. Pick Nodes at its top.
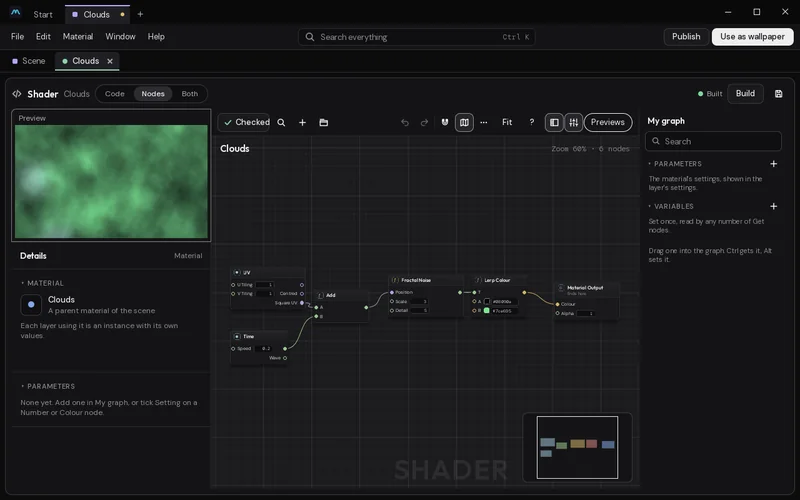
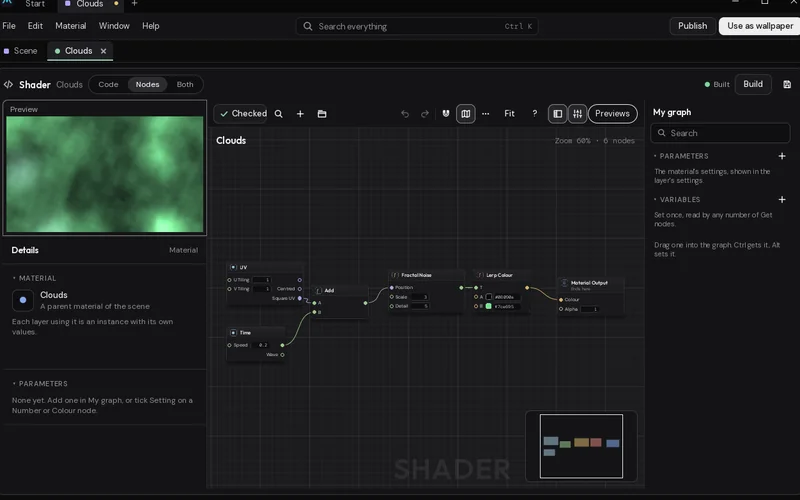
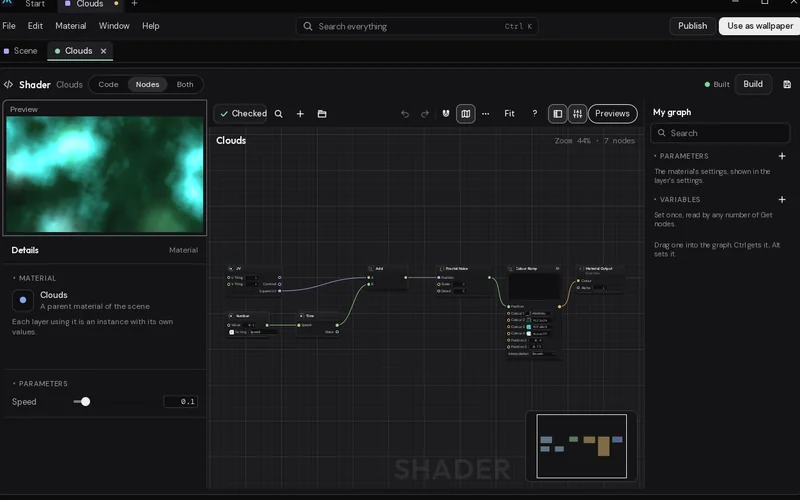
- A new Shader layer starts from a small graph: UV, Time, Add, Fractal Noise, Lerp Colour and Material Output. Most of what you need is already there.
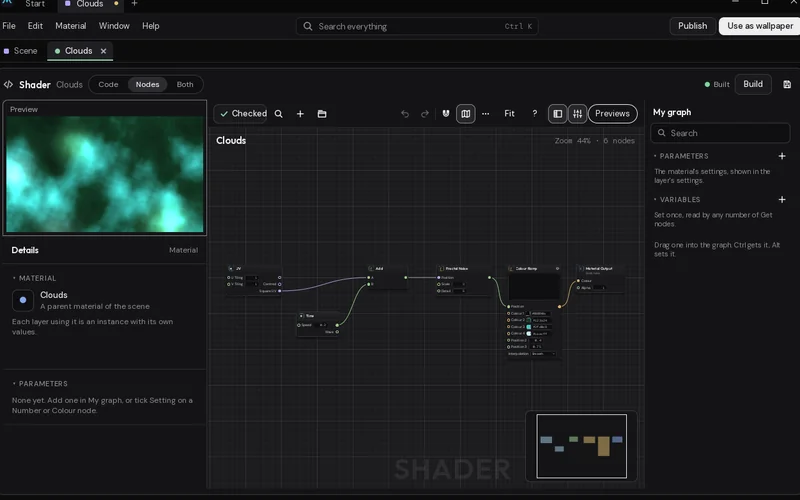
- Delete the Lerp Colour node. Press Tab (or right-click) and add a Colour Ramp. Wire Fractal Noise's output (it has only the one) into its Position, and its output into the Material Output's Colour. Give it the four colours and stops below.
- Add a Number. Set it to 0.1, wire it into Time's Speed, and tick Setting under it. Type Speed into the box beside it.
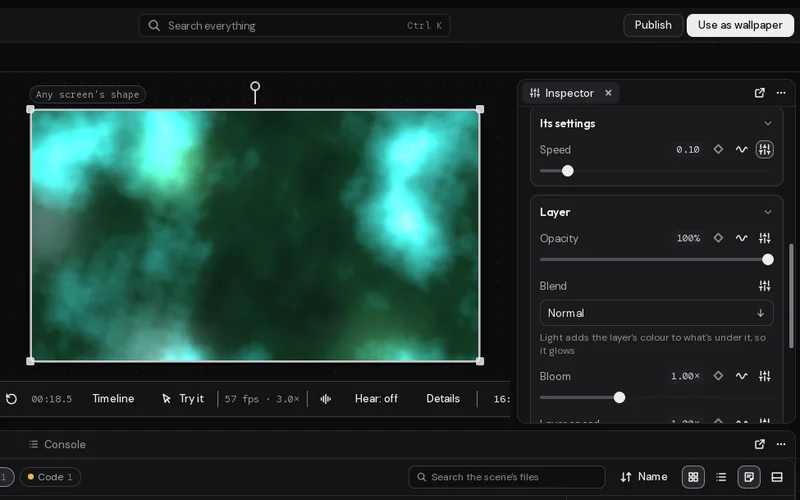
- Click the Scene tab to go back. Speed is now one of the layer's settings, under Its settings. Click the sliders button beside it (Show this in the wallpaper's settings) to offer it there.
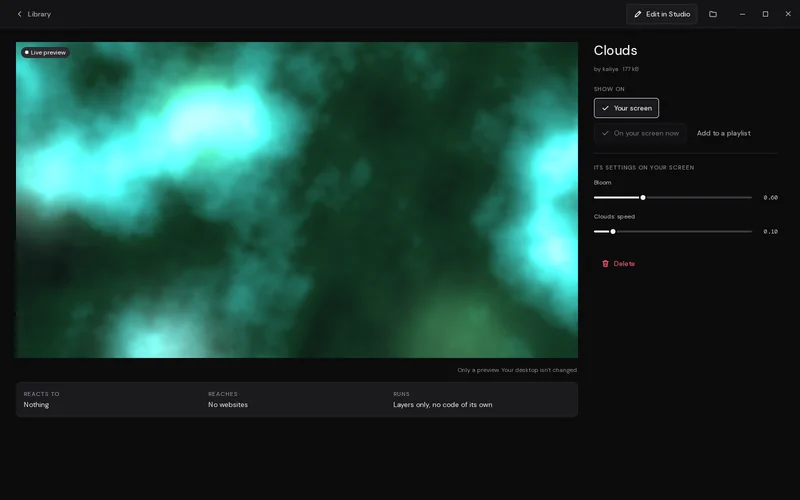
- Click Use as wallpaper, at the top right. In Motion Player, open the wallpaper's settings: there's a Speed slider.
The graph
The Number node has Setting ticked and is named Speed. A setting made this way goes from 0 to 1, or to twice the number when that's more. To give it another range, add a number under Parameters in the editor's My graph column instead, set its Range, and drag it into the graph: it comes in as a Get node.
The code
Pick Code at the top of the editor to see what the nodes write. This is the same pattern written by hand. To try it, start from a fresh Shader layer, pick Code, click + Number beside Its settings in the editor, and name the new number speed (from 0 to 0.5, set to 0.1).
// Clouds drifting through four colours. `speed` is one of the code's settings.
vec3 cloudColour(float t)
{
    vec3 c1 = vec3(0.031, 0.035, 0.039);   // #08090a
    vec3 c2 = vec3(0.071, 0.227, 0.141);   // #123a24
    vec3 c3 = vec3(0.247, 0.816, 0.788);   // #3fd0c9
    vec3 c4 = vec3(0.792, 0.925, 1.0);     // #caecff
    t = clamp(t, 0.0, 1.0);
    if (t < 0.4)
        return mix(c1, c2, t / 0.4);
    if (t < 0.75)
        return mix(c2, c3, (t - 0.4) / 0.35);
    return mix(c3, c4, (t - 0.75) / 0.25);
}

void mainImage(out vec4 fragColor, in vec2 fragCoord)
{
    // square coordinates from the top left: one unit is the screen's height
    vec2 p = vec2(fragCoord.x, iResolution.y - fragCoord.y) / iResolution.y;
    // slide through the pattern as time goes on
    p += vec2(iTime * speed);
    float n = lib_fbm(p * 3.0, 5.0);
    fragColor = vec4(cloudColour(n), 1.0);
}
The code is Shadertoy's form: mainImage is called for each pixel, with fragCoord in pixels from the bottom left, and sets fragColor. iTime and iResolution are there as on Shadertoy, and Motion adds its own: the pointer, clicks, the date, the sound and a library of lib_ functions. The editor lists them under What the code can read.
How it works
UV gives each pixel's place. Its Square UV output is measured in screen heights from the top left, so the clouds keep their shape on a wide screen.
Time counts seconds, times its Speed. Add adds those seconds to both parts of the place, so the whole pattern slides diagonally, slowly. With Speed at 0.1, it moves a tenth of the screen's height a second.
Fractal Noise is noise in layers, each finer than the last: Scale sets how big the clouds are, Detail how many layers. It gives a number from about 0 to 1 for each pixel, the same as lib_fbm in the code.
Colour Ramp turns that number into a colour: 0 is the first colour, 1 the last, with the other two at the stops you set (Position 2 and Position 3). Moving the stops changes how much of each colour you see.
The Material Output is what the layer shows. The Number with Setting ticked becomes one of the layer's settings, so you can animate it on the timeline, set it from a script, or offer it on the desktop like any other.
Make it yours
- Colours on the desktop too. Add a Colour node instead of typing a colour into the ramp, tick its Setting, and wire it into one of the ramp's colours. A shader can offer up to 8 numbers and 4 colours.
- Clouds that breathe with the music. Add Sound Levels and wire its Bass into Fractal Noise's Scale through a Multiply, or swap Fractal Noise for Sound Noise, which churns faster when the music is loud.
- Clouds that change in place. Instead of sliding, use Gradient Noise 3D and put time into the position's third part, so the pattern changes where it is. Set its Output Min to 0 and Output Max to 1 so it suits the ramp.
- Fewer colours. A Step Ramp gives flat bands instead of smooth ones, for a poster look.
- In another wallpaper. Click the save button at the top of the editor to keep it in your library. In another scene, pick a Shader layer, click Use material… in its settings, and find it under Library.