Guide
Click ripples
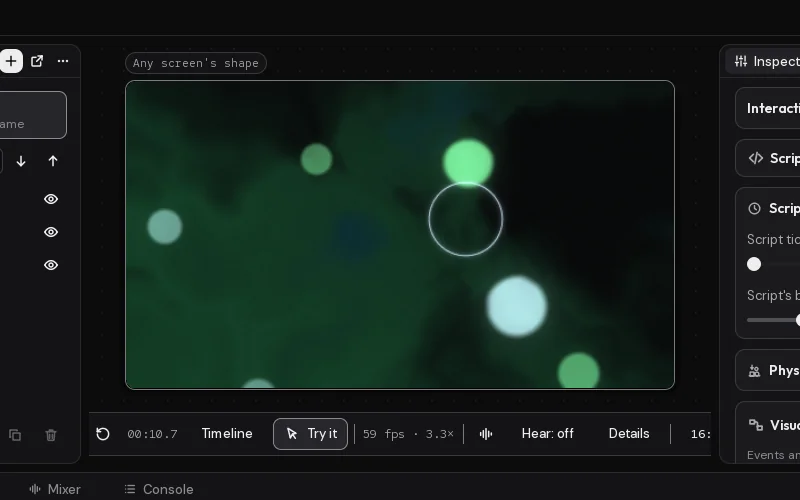
You'll end up with a wallpaper that ripples where you click: the whole picture bends in a ring that spreads out from the spot, and a glowing ring grows and fades there too. The first part needs no code at all; the ring is a short script or a small graph.
What you'll learn
- How the scene's own Clicks make ripples bends the whole picture where you click, with no code at all.
- How to turn a click's place, from 0 to 1 from the top left, into a layer's place, from -1 to 1 with 0 in the middle.
- How to grow and fade a ring by moving its Size and Opacity together, in a script or with Flash Layer in a graph.
What you need
- Scenes can follow the pointer turned on, in Motion Player's Settings › Sound and pointer. On KDE Plasma, clicks reach the wallpaper once Motion's input helper,
motion-input, is installed (see Install Motion). - Any scene to ripple. Mine is two of the layers Empty scene starts with: an aurora Gradient and a Glow orbs layer above it (I deleted the rest).
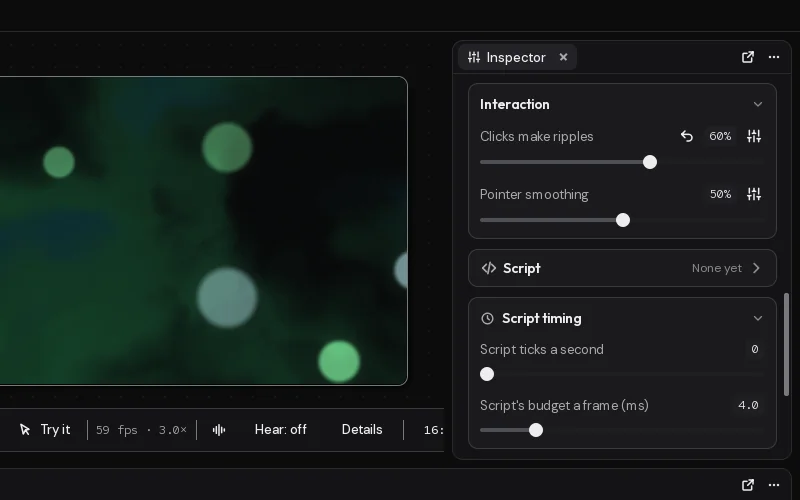
- The scene's Clicks make ripples setting, under Interaction when Scene is picked: 60%.
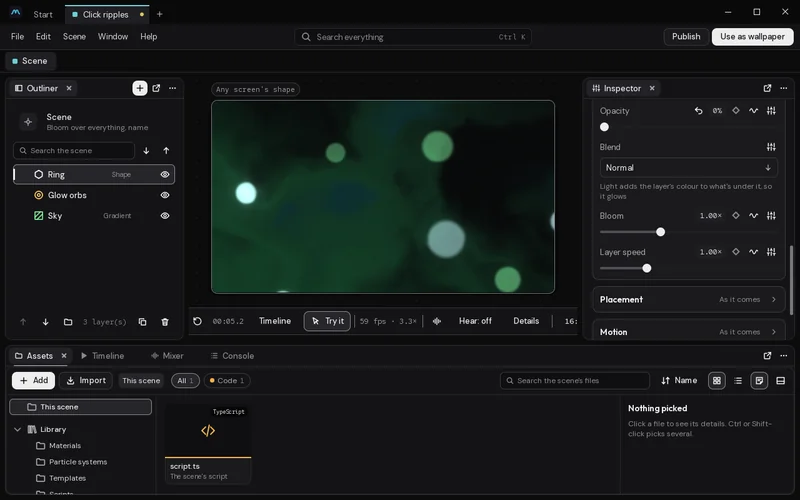
- For the ring, a Shape layer named Ring at the top:
| Setting | Value |
|---|---|
| Shape | Ring |
| Width and Height | 12% |
| Outline | a light colour (I use Ice, #caecff) |
| Outline width | 3 px |
| Glow | 60% |
| Opacity | 0% |
The ring starts invisible. The script puts it where you clicked, shows it, grows it and fades it out again.
How it's built
- Open your scene, or click Empty scene on Studio's start page. Pick Scene at the top of the Outliner, open Interaction in its settings, and drag Clicks make ripples to about 60%.
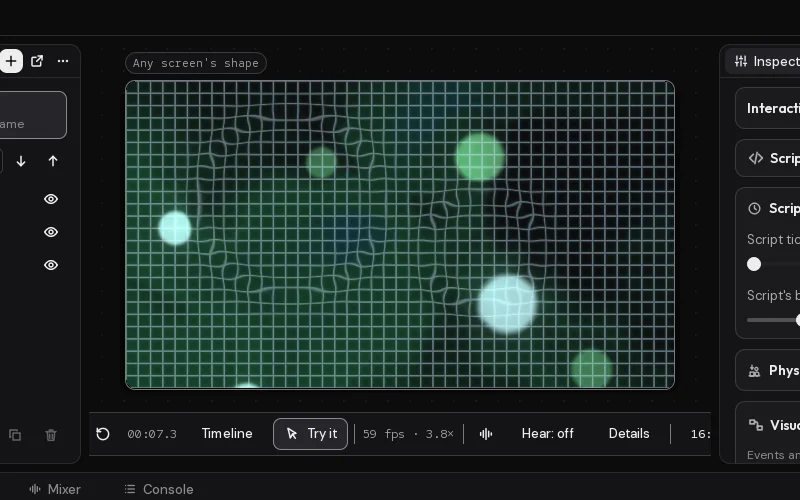
- Click Try it under the preview, then click the preview. Clicks now go to the scene as they would on the desktop, and the picture ripples out from each one. Click Try it again to go back to moving layers.
- For the ring, click + in the Outliner's tab and add a Shape. Double-click its name and call it Ring. Give it the settings above; Opacity is under Layer.
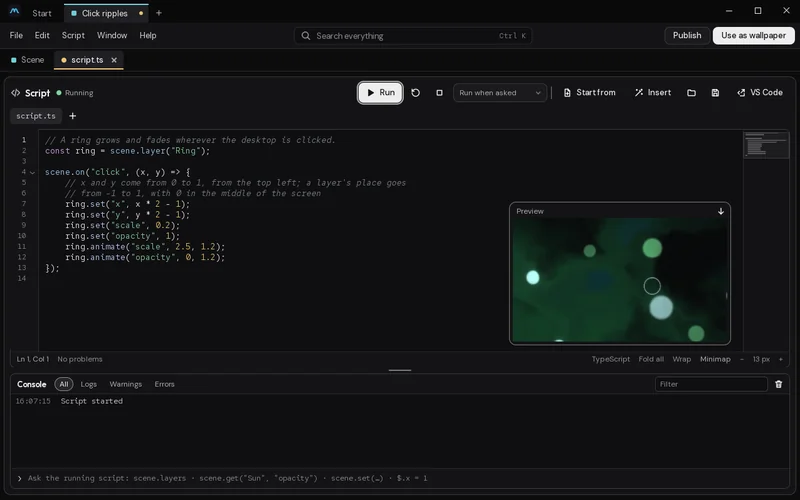
- Pick Scene at the top of the Outliner. For the script: on its Script card (click the card's title if it's folded) click Open the editor, or press Ctrl+Shift+E. The script opens as the
script.tstab, in the row under the toolbar; paste the script below. For the graph instead: click Start one on its Visual script card, and the Event graph tab opens. Build the graph below there: press Tab to add each node, wire them, and pick Ring in each Target. - Click Run. Click the Scene tab, at the start of the row under the toolbar, to go back to the preview, turn Try it on, and click the preview.
The code
// A ring grows and fades wherever the desktop is clicked.
const ring = scene.layer("Ring");

scene.on("click", (x, y) => {
    // x and y come from 0 to 1, from the top left; a layer's place goes
    // from -1 to 1, with 0 in the middle of the screen
    ring.set("x", x * 2 - 1);
    ring.set("y", y * 2 - 1);
    ring.set("scale", 0.2);
    ring.set("opacity", 1);
    ring.animate("scale", 2.5, 1.2);
    ring.animate("opacity", 0, 1.2);
});
The graph
How it works
The ripple across the picture is the scene's own. Clicks make ripples bends everything drawn, the last four clicks at once, each ring spreading out and dying away over about two seconds. It costs a little only while a ripple is moving.
The ring is the script's. scene.on with "click" gives the click's place, x and y from 0 to 1 from the top left. In the graph, On Click gives the same two numbers, as its X and Y outputs.
A layer's Left and right (x) and Up and down (y) work differently: 0 is the middle, and -1 and 1 are the edges. So the script doubles the click and takes one away; the graph does the same with two Remap nodes. Then it shrinks the ring to 20%, shows it, and moves Size (scale) up and Opacity down together over 1.2 seconds, with scene.layer and its animate.
In the graph, Flash Layer does the showing and fading in one node: it puts Opacity at 100% and fades it to nothing over its Duration.
A click that comes while a ring is still growing starts it again from the new place. For several rings at once, make two or three Ring layers and take turns.
Make it yours
- Water instead. A Water surface layer splashes where you click by itself (Clicks splash), and ripples where the pointer moves (The pointer stirs it). Turn Calm up for ripples that die away sooner.
- Bursts instead of rings. A Pointer light bursts when clicked (Burst when clicked), and Fireworks can burst where you click (Burst where clicked).
- Take turns between rings. Keep a count and pick a layer from a list:
const rings = ["Ring 1", "Ring 2", "Ring 3"];andlet n = 0;at the top, thenconst ring = scene.layer(rings[n++ % rings.length]);inside the click. - Ripple one layer only. Every layer has Water under Effects, which bends that layer alone (not on clicks, but all the time). Use it with the scene's ripples for a layer that's always moving.